Skip to content
Models
Robin Rowland's blog about model projects.
Model photography blog
Robin Rowland Science Fiction Models and Photography
About
Tag:
paint
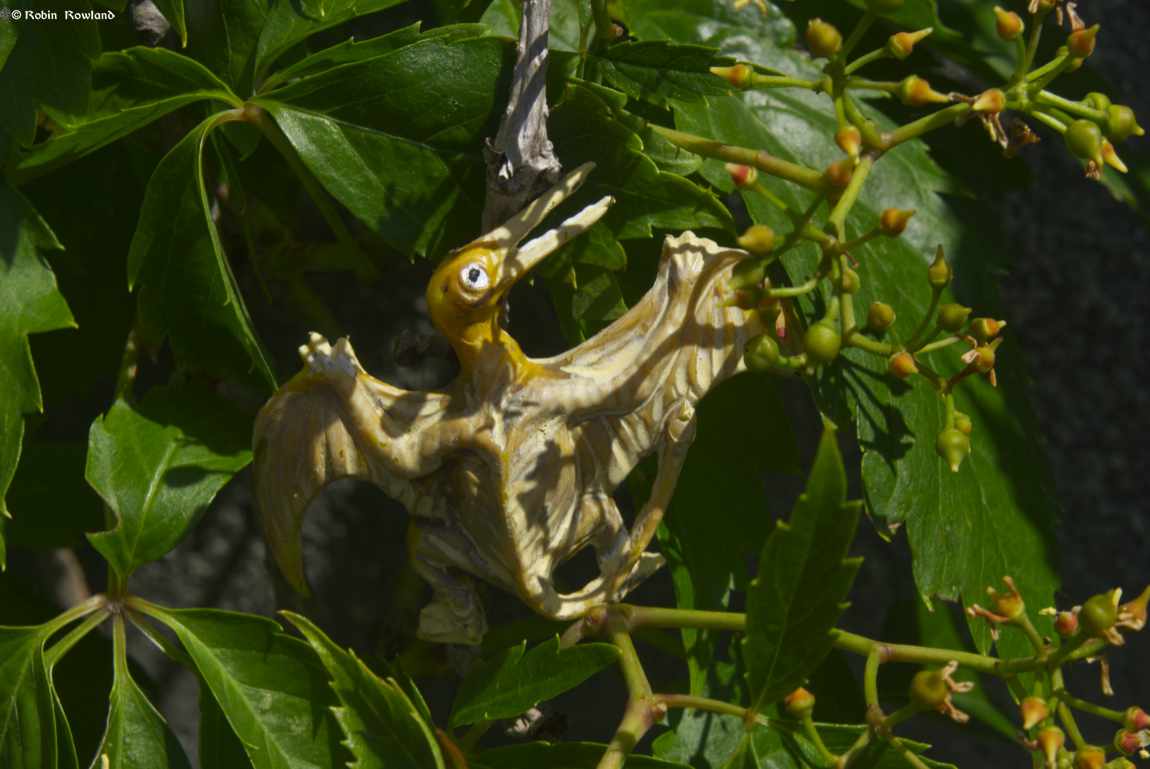
More “dinosaur” photos, the Pterosaur
July 18, 2024
Galactic Tramp: Kitbashing Andre Norton’s Solar Queen from the Luna Rocket ship
April 7, 2023
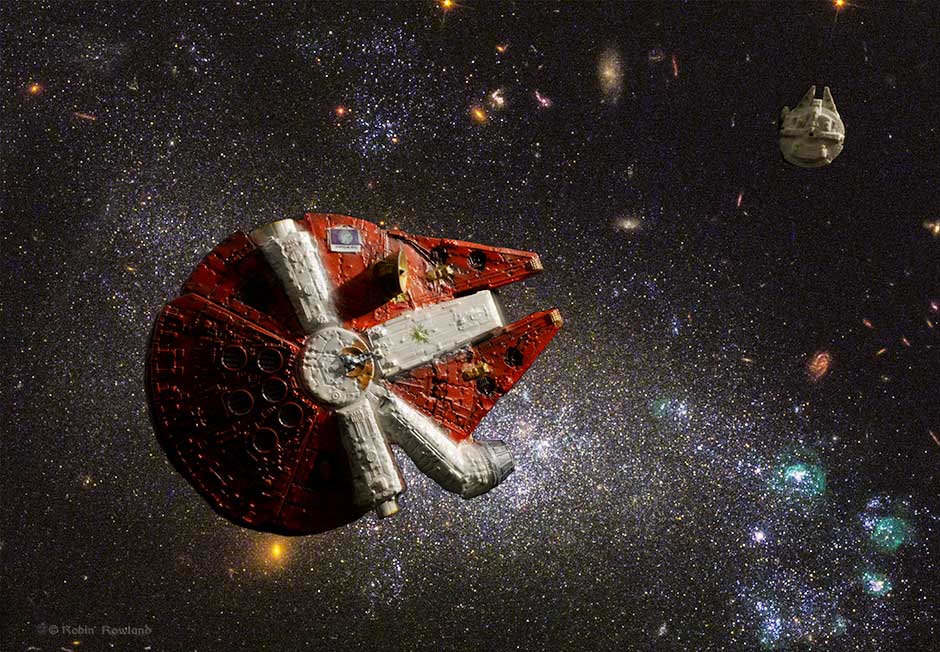
The GT-1350 Smuggler Interceptor
July 12, 2018
Turning router packing into a ruined alien temple
December 31, 2017
A pirate starship chase, scratch built from toothbrush packages
September 21, 2017
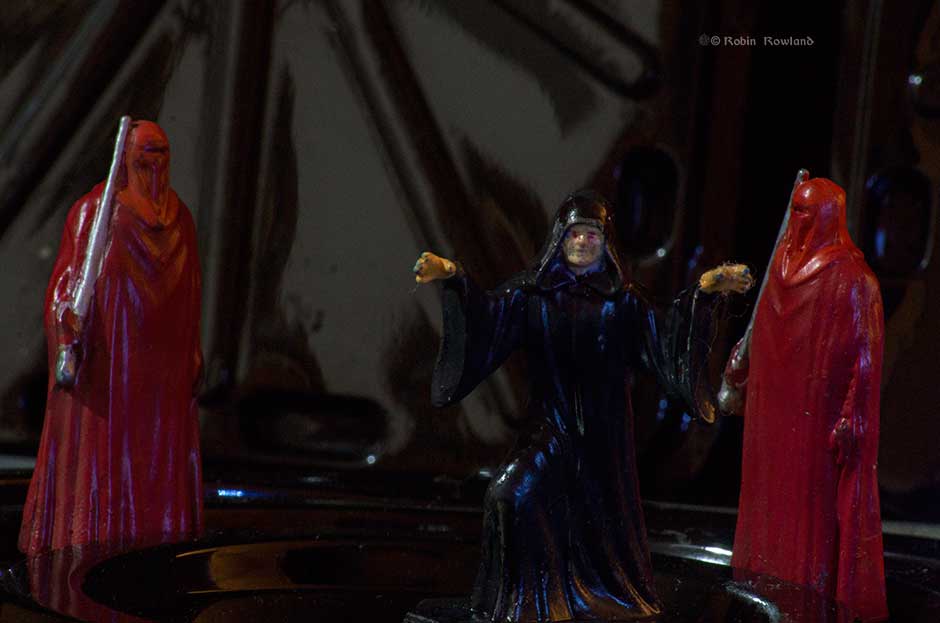
Emperor Palpatine and his guards
November 30, 2016